Is Vacuum Sealing Worth It for Chemical Storage?
Table of Contents
- When Vacuum Sealing Works for Chemical Storage (and When It Fails)
- Chemical Compatibility of Storage Containers: Bags, Seals, and Equipment
- Chemical Storage Best Practices: A Step-by-Step Decision Framework
- Step 1: Classify the Chemical by Hazard and Physical State [Time: 5 minutes]
- Step 2: Screen Out the Hazard Classes Vacuum Sealing Cannot Handle [Time: 5 minutes]
- Step 3: Match Packaging to the Chemical and Test the Seal [Time: 10 minutes]
- Step 4: Plan Secondary Containment and Ventilation [Time: 5 minutes]
- Step 5: Document the Decision
- Moisture-Sensitive Chemical Storage: Desiccants, Humidity Control, and Seal Integrity
- Lyophilized Peptide Storage: Why Vacuum Sealing Is Not the Answer
- Safer Alternatives to Vacuum Sealing for Chemical Storage
- Conclusion: Making the Right Call for Your Lab
- Frequently Asked Questions
Last Updated: October 12, 2026
When Vacuum Sealing Works for Chemical Storage (and When It Fails)
Vacuum sealing is worth it for chemical storage only when three conditions line up: the chemical is stable under pressure, the packaging material resists that specific chemical, and the seal can survive the full storage period.
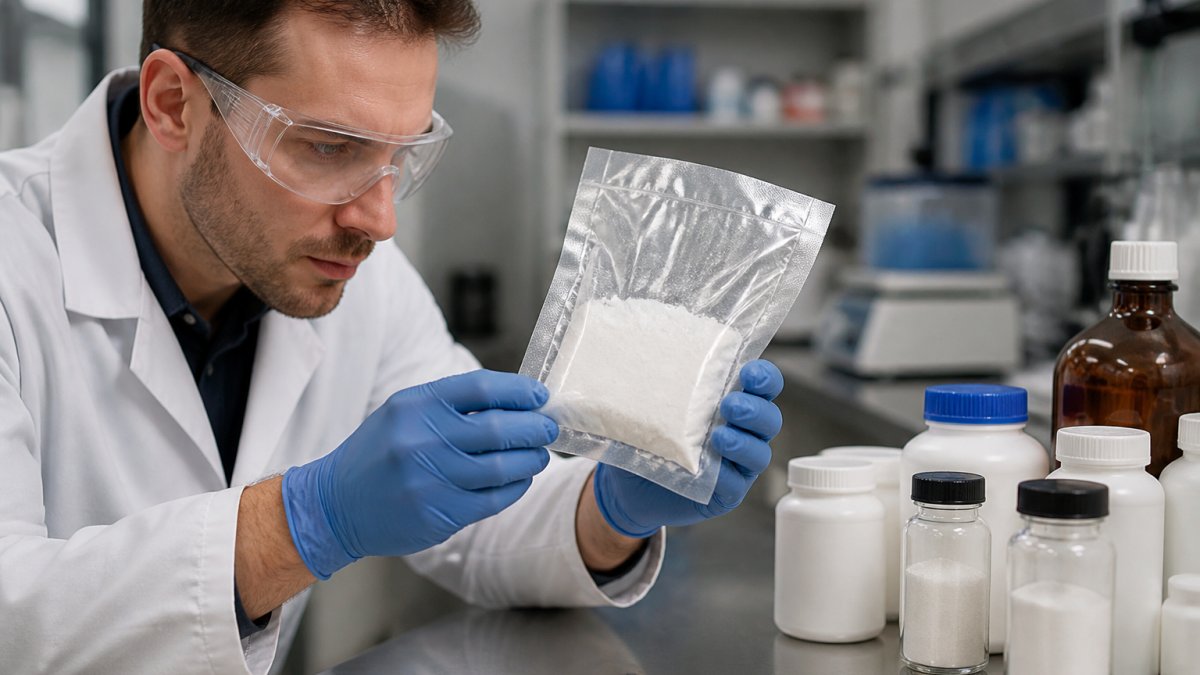
At FROPeptides, we handle lyophilized peptides and coenzymes that lose integrity fast when storage conditions slip. The 2026 update to the OSHA Laboratory Safety Guidance makes clear that chemical storage decisions must match the hazard class of the material, and vacuum sealing does not change that requirement.
Most guides treat vacuum sealing as a single technique. It is really three separate variables, and each one can fail on its own.
The Physical Principle Behind Vacuum Sealing
Vacuum sealing is the process of removing air from a package and heat-sealing it to block oxygen and moisture. Removing air slows oxidation and stops freezer burn in food.
For chemicals, the stakes shift. Air removal helps when oxygen or humidity degrades the material. It hurts when the chemical releases vapor, reacts with the bag film, or needs pressure relief.
Three things happen when you pull a vacuum:
- Oxygen levels drop, which slows oxidation
- Moisture transfer stops, protecting hygroscopic powders
- Pressure drops, which can pull volatile compounds out of the material
That third effect is where things go wrong.
Categories of Chemicals That Should Never Be Vacuum Sealed
Some chemicals should never go into a vacuum sealer. Volatile solvents, corrosive liquids, reactive powders, and anything with a flash point below room temperature top the list.
Pulling a vacuum lowers the boiling point of every liquid in the package.
Never vacuum seal these categories:
- Flammable liquids and low-boiling solvents
- Strong acids and bases in liquid form
- Reactive metals and pyrophoric powders
The EPA chemical storage and compatibility guidance treats incompatible storage as a primary cause of lab incidents. A vacuum bag concentrates vapors in a small space.
Chemical Compatibility of Storage Containers: Bags, Seals, and Equipment
Chemical compatibility is the most overlooked factor in vacuum sealing decisions, and it is not a yes/no property of a bag.
Standard vacuum bag rolls are usually polyethylene or nylon/polyethylene laminates. They handle water, dry powders, and mild salts well, but fail against ketones, aromatic solvents, chlorinated solvents, and concentrated acids, often by permeating slowly, letting vapor escape while the vacuum still looks intact.
Why Bags Fail: Four Mechanisms
- Chemical attack, the film swells, softens, or crazes on contact with the chemical.
- Permeation, the chemical passes through the film molecule by molecule, so the bag looks fine but the surrounding air is contaminated.
- Extraction, plasticizers or processing aids leach out of the film and into the chemical, changing its composition.
Material-by-Material Compatibility
| Packaging Material | Generally Works With | Generally Fails Against |
|---|---|---|
| Polyethylene bags | Dry powders, mild salts, non-oxidizing solids | Ketones, aromatics, chlorinated solvents, strong acids |
| Nylon laminate bags | Dehydrated powders, some hygroscopic solids | Concentrated acids, amines, prolonged solvent contact |
| PTFE-lined bags | Many corrosive vapors and acids | High cost, limited sizes, thicker seams |
| Glass jars with PTFE-lined lids | Most dry chemicals, corrosives | Impact, thermal shock, vacuum attachment seals |
| Mylar (PET) bags | Dry goods, light-sensitive powders | Liquids, sharp edges, long-term solvent contact |
| Polypropylene containers | Many aqueous solutions, mild bases | Strong oxidizers, some solvents at elevated temperature |
Treat this table as a starting filter, not a clearance. The authoritative source is the chemical’s safety data sheet (SDS), Section 7 (Handling and Storage) and Section 10 (Stability and Reactivity), plus the packaging manufacturer’s chemical resistance chart for the exact film grade you are using.
Sealing an incompatible chemical in a vacuum bag can cause the film to soften, permeate, or rupture within days. The result is a contaminated storage area and a lost batch. Run a small compatibility test, seal a sample, store it under the intended conditions for at least 48 hours, and inspect for swelling, discoloration, or loss of vacuum, before committing a full container.
The sealer itself matters too. Chamber sealers handle fine powders better than suction (external) sealers because they do not pull dust through the pump and heating element. For liquids or volatile solids, no sealer type makes vacuum sealing appropriate, see the hazard-class discussion above.
Chemical Storage Best Practices: A Step-by-Step Decision Framework
For chemicals, vacuum sealing is a decision tree, and the first branch is hazard class, not packaging. The framework below is the one most lab safety officers use: classify, screen, test, then contain.
Total Time: 15-30 minutes per chemical
Difficulty: Beginner to intermediate
Step 1: Classify the Chemical by Hazard and Physical State [Time: 5 minutes]
Start with the safety data sheet (SDS) and the manufacturer’s label, which give you the flash point, reactivity, storage temperature range, and incompatible materials. Write down four things:
- Physical state, solid, powder, liquid, gas-forming, or a solid that sublimes.
- Hazard class, flammable, corrosive, reactive (water-reactive, pyrophoric), oxidizer, or toxic.
- Sensitivity, moisture, oxygen, light, heat, or pressure.
If the SDS lists a flash point below 100°F (about 38°C), names the material as water-reactive or pyrophoric, or identifies it as a strong oxidizer, stop here. Vacuum sealing is not the right method for that material.
Step 2: Screen Out the Hazard Classes Vacuum Sealing Cannot Handle [Time: 5 minutes]
Vacuum sealing changes the physical environment inside the package, helpful for some hazard classes, dangerous for others.
| Hazard Class | Vacuum Sealing Appropriate? | Why |
|---|---|---|
| Stable dry powders (non-oxidizing, non-hygroscopic-reactive) | Sometimes | Air removal slows oxidation and moisture uptake |
| Hygroscopic powders | Sometimes, with desiccant | Vacuum alone does not stop moisture ingress through a weak seal |
| Flammable liquids and low-boiling solvents | No | Reduced pressure lowers the boiling point and can vaporize the liquid into the pump and heating element |
| Strong acids and bases (liquid) | No | Corrosive vapors attack the pump and the seal layer |
| Reactive metals and pyrophoric powders | No | Air removal does not remove the reactivity; handling risk remains |
| Peroxides and peroxide-forming compounds | No | Concentration and friction hazards are not addressed by vacuum |
| Oxidizers | No | Confinement can intensify a reaction if contamination occurs |
| Compressed or liquefied gases | No | Pressure relief is required; a sealed bag is the wrong container |
This is where most food-storage advice breaks down. A vacuum bag concentrates any vapor that does form into a small, sealed headspace, the opposite of what you want for a volatile or reactive material.
Step 3: Match Packaging to the Chemical and Test the Seal [Time: 10 minutes]
If the chemical passed Step 2, pick packaging that resists it and holds a seal, then run a compatibility test.
- Confirm the bag or container material against the manufacturer’s chemical resistance chart for that specific film grade.
- Seal a small sample and store it under the intended conditions for at least 48 hours.
- Check for swelling, discoloration, loss of vacuum, or odor outside the bag.
Expected Result: A sealed container that shows no physical or chemical change after 48 hours under real storage conditions.
Step 4: Plan Secondary Containment and Ventilation [Time: 5 minutes]
Even a compatible seal can fail. Plan for it.
- Store vacuum-sealed chemicals inside a secondary container, a tray, bin, or cabinet rated for the hazard class.
- Keep the storage area ventilated per the SDS and any applicable workplace rules.
- Separate incompatible hazard classes so a single seal failure cannot start a reaction between neighbors.
Label every vacuum-sealed chemical with the seal date, not just the chemical name. Seal integrity degrades over time, and a date stamp tells you when to recheck. Most labs that skip this step lose track of which batches are still trustworthy.
Step 5: Document the Decision
Write down why you chose vacuum sealing (or did not) for each material, and keep the SDS with the storage record. If an inspector or a future lab member asks why a chemical is stored a certain way, the documentation answers faster than the packaging does. When the SDS, the label, or your institution’s chemical hygiene plan specifies a storage method, that instruction wins over any general guidance here.
Moisture-Sensitive Chemical Storage: Desiccants, Humidity Control, and Seal Integrity
Moisture-sensitive chemical storage depends less on the vacuum and more on what happens after the seal.
Desiccants do the heavy lifting. Silica gel, molecular sieves, and calcium sulfate all pull water from the headspace. Add a small desiccant pack inside the bag before sealing.
Watch these three failure points:
- Seal edges with wrinkles or powder trapped in the seam
- Bags stored near sharp container edges
- Temperature swings that cause condensation inside the bag
A common mistake is sealing warm material. Let samples reach room temperature first. Warm air holds more moisture, and sealing it traps that moisture inside.
Lyophilized Peptide Storage: Why Vacuum Sealing Is Not the Answer
Lyophilized peptide storage does not benefit from vacuum sealing. Most lyophilized peptides ship in sealed glass vials under inert gas, which already does the job a vacuum bag would attempt.
Opening a vial to transfer powder into a bag adds two risks: exposure to room humidity and loss of material on the bag walls.
For lyophilized peptides, focus on:
- Keeping vials sealed until use
- Storing at the temperature the supplier specifies
- Avoiding repeated freeze-thaw cycles
At FROPeptides, every batch ships with a Certificate of Analysis and mass spectrometry verification, so researchers can confirm identity and purity before storage decisions even start.
Safer Alternatives to Vacuum Sealing for Chemical Storage
Safer alternatives exist for nearly every case where vacuum sealing fails. The right choice depends on the chemical, not convenience.
- Sealed glass jars with PTFE-lined lids for corrosive or reactive powders
- Mylar bags with heat seals for dry goods and light-sensitive materials
- Airtight containers with desiccant for hygroscopic powders
- Inert gas purge (argon or nitrogen) for oxygen-sensitive compounds
The best storage method is the one that matches the chemical’s hazard class and sensitivity. Vacuum sealing is one option among several, not the default.
Reusable bags and glass containers also cut plastic waste, which matters for labs tracking their environmental footprint.
Conclusion: Making the Right Call for Your Lab
The decision comes down to your chemical, not the technique. If the material is a stable dry powder, resistant to the bag film, and not volatile, vacuum sealing can work.
For the materials where integrity is hardest to protect, lyophilized peptides and coenzymes, the answer is sourcing you can trust. FROPeptides provides multi-stage HPLC testing, mass spectrometry verification, and batch-level Certificates of Analysis with every order.
Shop Now
Frequently Asked Questions
What are the drawbacks of using vacuum seal bags for chemical storage?
Vacuum seal bags can crush or compact powders and fragile lyophilized cakes, damage packaging of volatile or corrosive substances, and trap hazardous vapors that may react with the bag material. They also offer no protection against chemical permeation for solvents and can create a false sense of security if the seal fails. For moisture-sensitive chemicals, the vacuum removes air but does not eliminate residual moisture unless paired with a desiccant, and the bag itself may not provide an adequate barrier against humidity over long-term storage.
Can vacuum sealing protect chemicals from moisture?
Vacuum sealing removes air but does not remove moisture already present in the chemical or the bag. For moisture-sensitive chemical storage, you need a desiccant inside a moisture-barrier container, such as a sealed jar with a tight gasket or a heat-sealed foil pouch. Vacuum sealing alone can actually pull ambient humidity into the bag if the seal is imperfect. For lyophilized peptides, the recommended approach is to store vials in a desiccator or with indicating silica gel, not in a vacuum-sealed bag.
Are vacuum-sealed bags suitable for storing lyophilized peptides?
No. Lyophilized peptide storage requires protection from moisture, oxygen, and temperature fluctuations. Instead, store lyophilized peptides in their original vials with a desiccant, keep them in a freezer at -20°C or below, and allow vials to reach room temperature before opening to prevent condensation.
What is the best way to store moisture-sensitive laboratory chemicals?
Use a two-layer approach: an inner container that is chemically compatible with the substance and an outer moisture-barrier container. For powders, a glass jar with a PTFE-lined cap inside a sealed foil pouch with indicating silica gel works well. For liquids, choose a container made of a material resistant to the specific chemical, such as HDPE or glass, and store in a cool, dry place away from direct sunlight. Always check the Safety Data Sheet for specific storage requirements and follow manufacturer guidance.